 Save
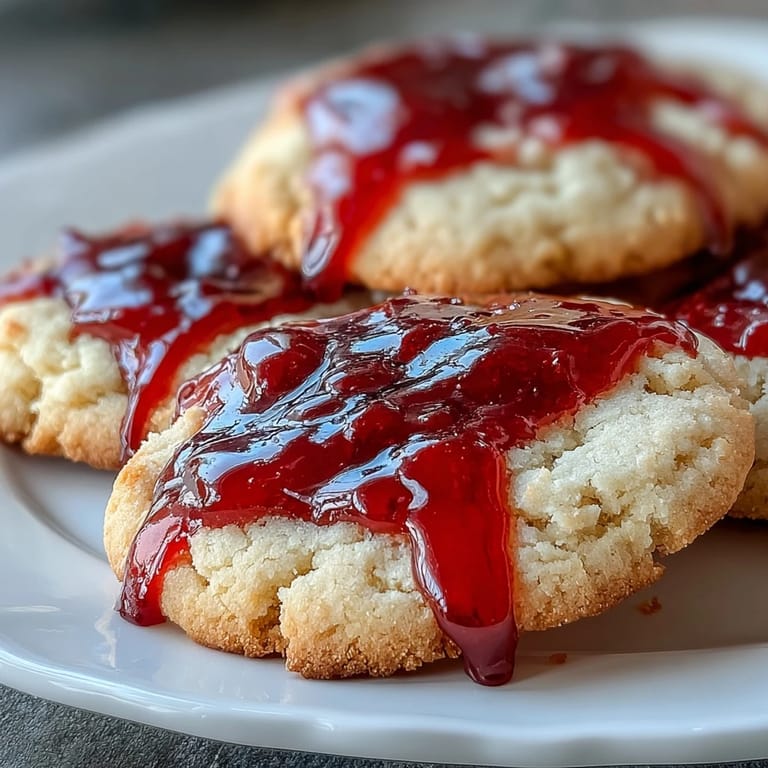
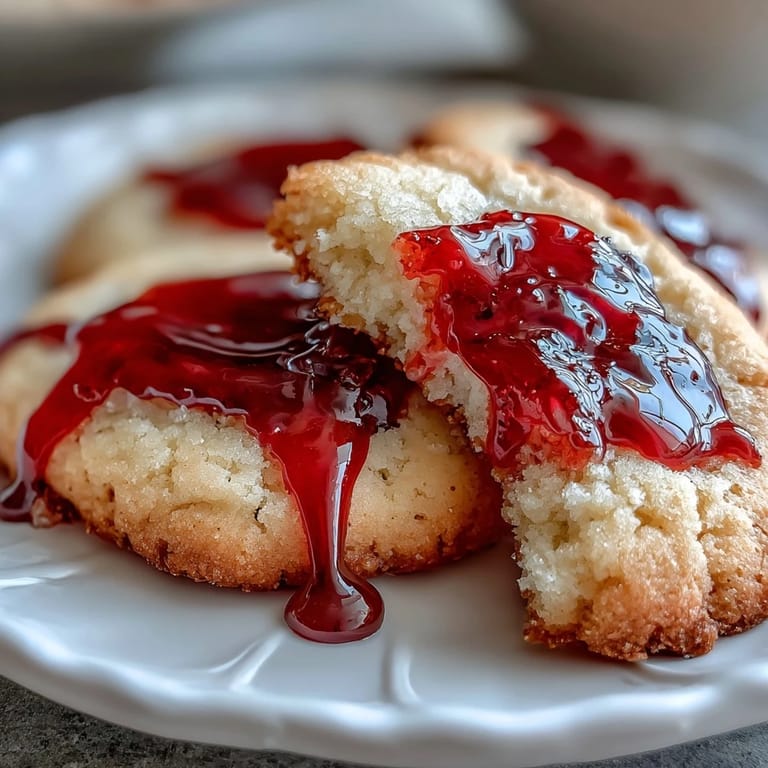
Save My neighbor knocked on my door one October afternoon with a sheepish grin, holding up a cookie decorated with what looked like actual puncture wounds dripping red icing. She'd made them for her daughter's Halloween party and couldn't stop laughing at how dramatically sinister they looked—until I took a bite and realized these vampire cookies were genuinely one of the best sugar cookies I'd ever tasted. Buttery, soft, with that perfect tender crumb that makes you reach for another before you've finished the first. Now every October I find myself in the kitchen with a straw, patiently creating bite marks and perfecting the blood drip, because apparently I'm the person who gets excited about making cookies look vampiric.
I brought a batch to work last Halloween and watched a grown accountant bite into one, then pause to admire the blood drip before eating the whole thing in two bites. That's when I knew this recipe had staying power—it's the kind of thing that bridges the gap between whimsy and genuine deliciousness, the kind of cookie people actually want to eat, not just photograph.
Ingredients
- All-purpose flour (2 1/4 cups): This is your structure, and measuring by weight if you have a scale keeps them consistent from batch to batch.
- Unsalted butter (3/4 cup, softened): Room temperature is non-negotiable here—cold butter won't cream properly and your cookies will be tough instead of tender.
- Granulated sugar (1 cup): This sweetens and helps create that slight crispness at the edges while keeping the centers soft.
- Egg (1 large): Binds everything together and adds richness, so don't skip it or substitute with anything else.
- Pure vanilla extract (1 1/2 tsp): Use the real stuff—imitation will taste noticeably different in such a simple cookie.
- Baking powder (1/2 tsp): Gives these cookies a tender crumb, but it's subtle enough that you're not making cake.
- Salt (1/4 tsp): Enhances the flavor and balances the sweetness perfectly.
- Powdered sugar (1 cup, sifted): For the icing, sifting removes lumps so your blood looks smooth and glossy.
- Milk (2–3 tsp): Loosens the icing to the right consistency, add gradually so you don't overdo it.
- Light corn syrup (1/2 tsp): This is the secret to that sinister shiny blood effect that makes the cookies look genuinely eerie.
- Red gel food coloring: Gel holds its color better than liquid food coloring and won't thin your icing.
Tired of Takeout? 🥡
Get 10 meals you can make faster than delivery arrives. Seriously.
One email. No spam. Unsubscribe anytime.
Instructions
- Prepare your oven and pans:
- Preheat to 350°F and line two baking sheets with parchment paper so your cookies don't stick and brown unevenly on the bottom.
- Mix your dry ingredients:
- Whisk flour, baking powder, and salt in a medium bowl—this distributes the leavening evenly so every cookie rises the same way.
- Cream butter and sugar:
- Beat them together for about two minutes until they're light, fluffy, and pale—this incorporates air that makes cookies tender instead of dense.
- Add egg and vanilla:
- Mix until you see no streaks of egg white, then stop—overmixing at this point toughens the dough.
- Bring it together gently:
- Add the flour mixture on low speed just until a soft dough forms, leaving a few streaks of flour is actually fine here.
- Shape and space:
- Scoop tablespoon-sized portions, roll them into balls, flatten slightly with your palm, and leave two inches between each one because they spread a little.
- Bake until golden edges:
- Bake for 10–12 minutes—the centers should look barely set and the edges should just be starting to turn golden, not brown.
- Cool strategically:
- Leave them on the baking sheet for five minutes so they firm up enough to move, then transfer to a wire rack so the bottoms don't steam and become soft.
- Create the vampire marks:
- Once completely cool, use a straw or chopstick to gently poke two puncture marks near the edge of each cookie, pressing straight down and wiggling slightly to make them look like actual fangs punctured the cookie.
- Make your blood icing:
- Sift powdered sugar into a small bowl, then add milk one teaspoon at a time while stirring, until you reach a thick but pipeable consistency—it should move slowly but not be stiff.
- Add corn syrup and color:
- Stir in corn syrup for shine, then add red gel coloring a tiny bit at a time, mixing thoroughly because gel is concentrated and a little goes a long way.
- Fill the bite marks:
- Using a toothpick or small piping bag, fill those puncture marks with red icing and let it drip slightly down the side for maximum vampire effect.
- Optional details:
- If you have black or dark red gel icing, pipe a thin trail away from the bite marks like the vampire is leaving a trail of blood, then let everything set completely before serving.
 Save
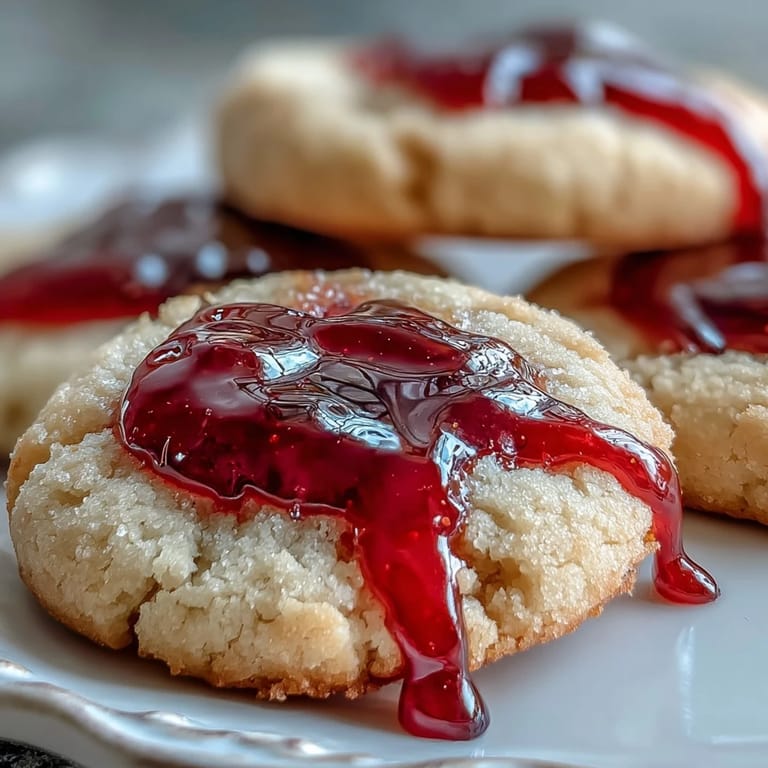
Save My kid came home with a vampire cookie from school once and immediately declared it too cute to eat, which lasted approximately 47 seconds before the temptation of buttery cookie won out. That's the magic of this recipe—it makes something fun that's also genuinely delicious, so nobody feels bad about devouring half the batch.
The Perfect Halloween Cookie Moment
These aren't just treats for a party—they're conversation starters that sit on a table and mysteriously disappear because people can't resist trying them. I've made them for book clubs, neighborhood potlucks, and just because it was October and the mood struck, and they never fail to get the reaction I'm after. The beauty is they look professionally spooky but taste homemade in the best way.
Variations That Surprised Me
Once I added 1/4 teaspoon of almond extract instead of using straight vanilla, and the shift was subtle but suddenly the cookie tasted like something my grandmother would have made, elegant and slightly mysterious. I've also experimented with different food coloring gels—a blackish-red gives a more gothic vibe, while a bright true red feels more playful and fun. The dough itself is flexible enough to handle these tiny tweaks without falling apart, which is why I keep coming back to it.
Storage and Staying Power
These cookies stay tender for several days if you keep them in an airtight container, and honestly they might even taste better the next day as the flavors settle and deepen. If you're making them ahead for a party, bake the cookies and decorate them the morning of so the icing stays glossy and dramatic-looking. One more thing worth noting—if you're doubling the batch for a crowd, the timing stays the same, just use more baking sheets and rotate them halfway through.
- Store decorated cookies in a single layer with parchment between them so the icing doesn't smudge or stick to other cookies.
- If icing softens in warm weather, pop the finished cookies in the refrigerator for 15 minutes to set the design.
- These freeze beautifully both baked and undecorated, so you can prep weeks ahead and decorate whenever the Halloween spirit hits.
 Save
Save These vampire cookies are the kind of recipe that reminds you why baking is fun instead of stressful, combining something silly and seasonal with genuinely good cookies you'll want to make year-round. Once you nail the technique, you'll find yourself making them whenever October rolls around, and probably a few times in between just because.
Recipe Help & Answers
- → What gives the icing its glossy finish?
The corn syrup in the icing mixture provides a shiny, glossy finish that helps it dry with a smooth surface.
- → How should I create the bite marks on the cookies?
After baking and cooling, gently poke two small indentations near the cookie edges using a straw or chopstick to simulate bite marks.
- → Can I prepare the dough ahead of time?
Yes, chilling the dough for at least 30 minutes before baking makes it easier to handle and helps maintain cookie shape.
- → What adjustments can be made for gluten-free versions?
Substitute all-purpose flour with a gluten-free flour blend, ensuring it is suitable for baking cookies.
- → How to achieve the red 'blood' effect on the icing?
Mix red gel food coloring into the icing until you reach a deep red hue, then pipe it into the bite indentations allowing slight drips for a dramatic look.
- → Are there any suggested pairings with these cookies?
These cookies pair wonderfully with warm drinks like hot chocolate or mulled wine, enhancing the cozy festive ambiance.