 Save
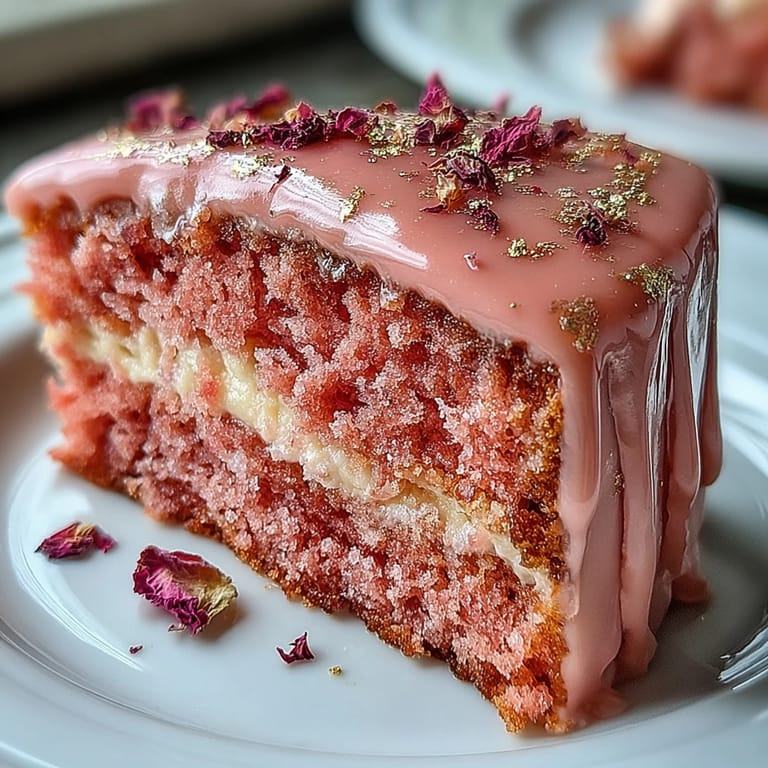
Save The first time I made this Rosé Velvet Cake, I was drawn in by the gentle pop of pink batter swirling around the bowl and the subtle aroma of wine mingling with vanilla, reminding me of laughter and clinking glasses as I baked. It wasn’t a grand event—just a quiet stormy afternoon with jazz playing low, testing out ideas for a friend’s upcoming bridal shower. When the cake layers emerged, fluffier and rosier than I’d hoped, I genuinely couldn’t resist a small satisfied cheer. There was something unexpectedly grown-up about painting edible gold across soft buttercream, like crafting a cake that knows how to wear party shoes. The kitchen was warm and fragrant, and the gold glimmer somehow made everything just a little more magical.
I made this cake for a friend who insisted she didn’t want anything too ‘fancy’ for her shower—yet when the finished cake took center stage, even the most reserved guests reached for their phones. We all stood around, gold drip glinting in the afternoon light, debating who had the steadiest hand to slice it first. It became less about dessert and more about celebrating her with something sparkly and just unconventional enough to feel personal. That afternoon was filled with giggles over smudged gold fingers and crumbs, proving that sometimes beauty is best enjoyed a little imperfectly. I still smile when I catch a hint of rosé in the kitchen.
Ingredients
- All-purpose flour: Sifting this gives a beautifully light crumb, and I always measure by spooning and leveling for accuracy.
- Granulated sugar: Essential for sweetness and creating that classic, delicate velvet texture; try to whisk vigorously to help it dissolve before baking.
- Baking soda: Even a teaspoon brings just enough lift for the layers—don’t be tempted to add more.
- Fine salt: I learned to never skip this, as it sharpens each flavor note in the cake.
- Cocoa powder (unsweetened): Just a spoonful for gentle depth; I use a fine-mesh sieve to prevent lumps.
- Vegetable oil: This keeps the crumb moist and plush, even after a night in the fridge.
- Large eggs: Room temperature eggs blend better and help the batter stay silky.
- Buttermilk: It adds gentle tang and moisture—don’t substitute with plain milk if you want that signature tenderness.
- Rosé wine: Choose a dry or sparkling rosé for subtle fruitiness, and bring it to room temp before mixing for best texture.
- Vanilla extract: A little vanilla rounds out and softens the wine and cocoa flavors.
- White vinegar: This always piques curiosity, but it’s key for activating the baking soda and achieving true velvet texture.
- Pink or rose gel food coloring: Start with a little, then add until your batter is blush-perfect—remember color mellows as it bakes.
- Unsalted butter: Room temperature is crucial for fluffy buttercream; I sometimes leave mine out an extra 30 minutes in winter.
- Powdered sugar: Sifted well, or you’ll find sneaky lumps in your frosting.
- Heavy cream: For the gold drip, this makes melting chocolate smooth and shiny.
- Edible gold luster dust: Don’t skimp on quality—true edible luster gives that regal shimmer without a metallic aftertaste.
- Vodka or clear lemon extract: Helps make a quick-drying gold paint; vodka evaporates with no trace.
Tired of Takeout? 🥡
Get 10 meals you can make faster than delivery arrives. Seriously.
One email. No spam. Unsubscribe anytime.
Instructions
- Prep your pans:
- Cue up your oven to 350°F and line your cake pans with parchment—if you don’t, the delicate layers may stick and tear.
- Sift and mix dry ingredients:
- Toss flour, sugar, baking soda, salt, and cocoa into a big bowl and sift until you’ve banished every clump—watch the powder billow.
- Whisk the wet mix:
- Whisk oil, eggs, buttermilk, rosé, vanilla, and vinegar until the mix is smooth and slightly frothy, the scent uplifting and floral.
- Make it rosy:
- Combine wet with dry, stirring gently until just blended, then add food coloring bit by bit, marveling as the batter blushes pink.
- Bake the layers:
- Divide the batter into your pans, smoothing tops with an offset spatula, then bake for 30–35 minutes until a skewer comes out clean and the kitchen starts to smell softly sweet.
- Cool completely:
- Wait 10 minutes before turning cakes out, then cool on a rack—the temptation to frost too soon always ends in melting buttercream, so patience is worth it.
- Fluffy rosé buttercream:
- Beat butter until pale and dreamy, then add powdered sugar gradually; drizzle in rosé and vanilla, beating until cloudlike and swoon-worthy.
- Layer and crumb coat:
- Level your cakes if needed, sandwich each with generous buttercream, then sweep a thin crumb coat on the outside before chilling to set.
- Final coat and decorate:
- Slather on the last layer of buttercream for a smooth finish, using gentle pressure and rotating your cake for even coverage.
- Gold drip magic:
- Melt white chocolate and cream gently, cool a bit, then pour along the cake’s edges—watch for slow, elegant drips, and let cool before painting with edible gold for an artful finish.
- Final touches:
- Adorn with gold leaf, petals, or fresh berries—clean hands only!—and step back to admire before serving.
 Save
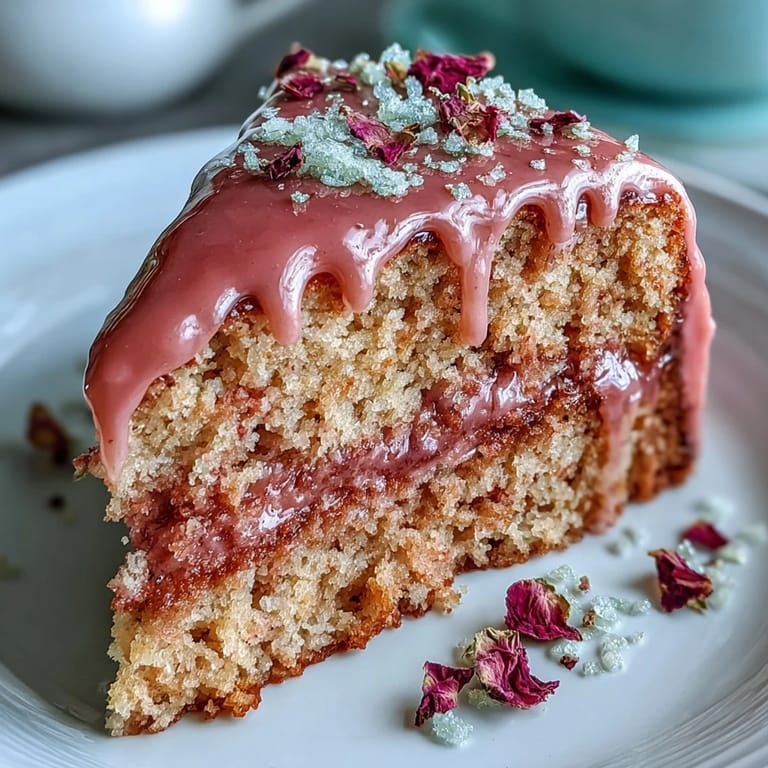
Save When I served this cake at a bridal brunch, everyone paused for a tiny, gleeful gasp—the glint of gold caught in the sunlight, and suddenly, the cake was a centerpiece that started countless stories and toasts. Cakes like these help turn ordinary moments into little celebrations, gold fingers and all.
Rosé Buttercream Troubleshooting
I’ve had batches go a bit stiff or runny, so I now adjust with tiny splashes of rosé for smoothness or sifted powdered sugar for more structure. The frosting’s texture is best when fluffy but holds its shape—never be afraid to experiment or taste as you mix.
Mastering the Gold Drip
The secret is patience: let the white chocolate drip cool after pouring or it’ll pool at the bottom, and don’t rush painting the gold or the finish can look patchy. A clean, fine-tipped brush and a steady hand make all the difference with delicate details.
Serving and Storing with Style
This cake shines even more after a few hours in the fridge, letting the flavors meld and the colors deepen softly. If you have leftovers, wrap slices tightly to keep them moist and vibrant for days.
- Let the cake come to room temperature before serving for maximum melt-in-your-mouth texture.
- A sharp, hot knife gives you the prettiest slices—wipe between each cut.
- Decorate with edible flowers right before serving for a fresh burst of color.
 Save
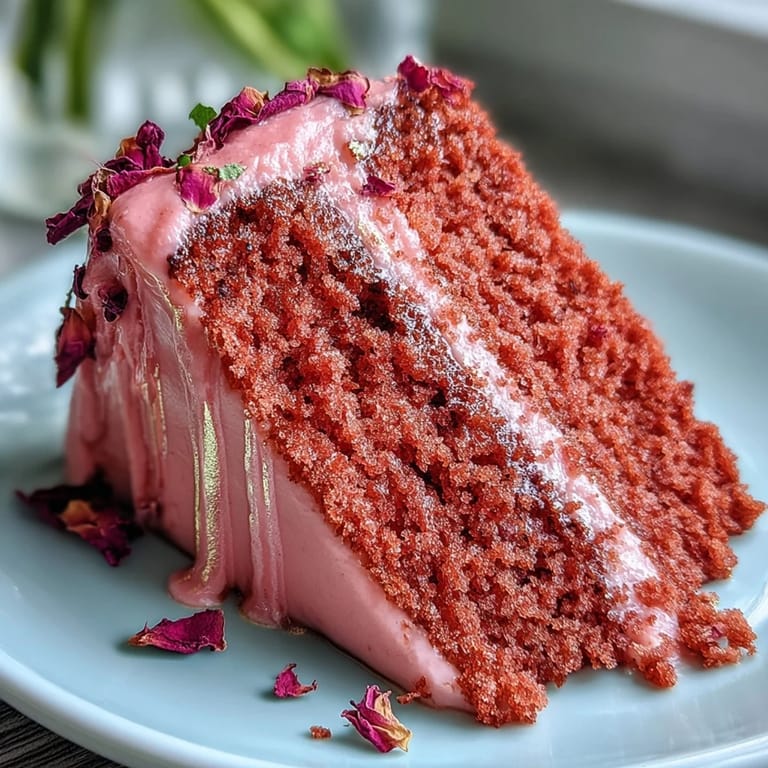
Save I hope this Rosé Velvet Cake brings as much shimmer and delight to your table as it did to mine—here’s to more golden moments and second slices shared with friends.
Recipe Help & Answers
- → Can I use a non-alcoholic substitute for rosé?
Yes. Substitute with unsweetened grape juice plus a splash of lemon for brightness, or use a concentrated fruit syrup to mimic the flavor without alcohol. Reduce any added liquid elsewhere to maintain batter texture.
- → How do I ensure the gold drip sets without sliding?
Cool the white chocolate drip slightly so it’s warm but not hot before applying. Chill the cake after a thin crumb coat so the final layer is firm; apply the drip while the cake is cold to help it set and control the flow.
- → Which white chocolate works best for the drip?
Use high-quality white chocolate chips or couverture combined with heavy cream for a smooth ganache. Avoid baking chips with high stabilizer content that may create grainy textures when melted.
- → How can I keep the buttercream stable for piping and stacking?
Beat unsalted butter until light and creamy, then add sifted powdered sugar gradually. Incorporate rosé slowly to control consistency; chill briefly between stages if it becomes too soft. For warm environments, refrigerate between steps and use a stabilizer like a touch more sugar or a small amount of cream cheese if needed.
- → Is edible gold luster dust safe, and how should it be applied?
Only use food-grade edible luster dust labeled for consumption. Mix with a clear spirit (vodka or clear lemon extract) or an edible shimmer medium to paint the set drip. Avoid non-edible metallic paints and follow manufacturer safety guidance.
- → Can this be made ahead and how should it be stored?
Yes. Bake and cool layers, then wrap and refrigerate up to 24 hours. Assemble and chill the finished cake; store in the refrigerator and bring to room temperature before serving to improve texture and flavor.